Timeline & Family Photo Guide
Thanks for taking the time to read this! This guide should give you an idea of how the day-of timelines are laid out, and also give you a solid starting point to begin making or customizing your own timeline. As always, please let me know if you have any questions about any of this, I’m happy to help.
Timelines
Timeline A
Couple Sees One Another Before the Ceremony (First Look or Otherwise)
01:30 Photo arrives, getting ready/detail shots (dress/details should be laid out/hung and ready to shoot)
02:30 Dress on, final details going on
03:00 First look, few portraits
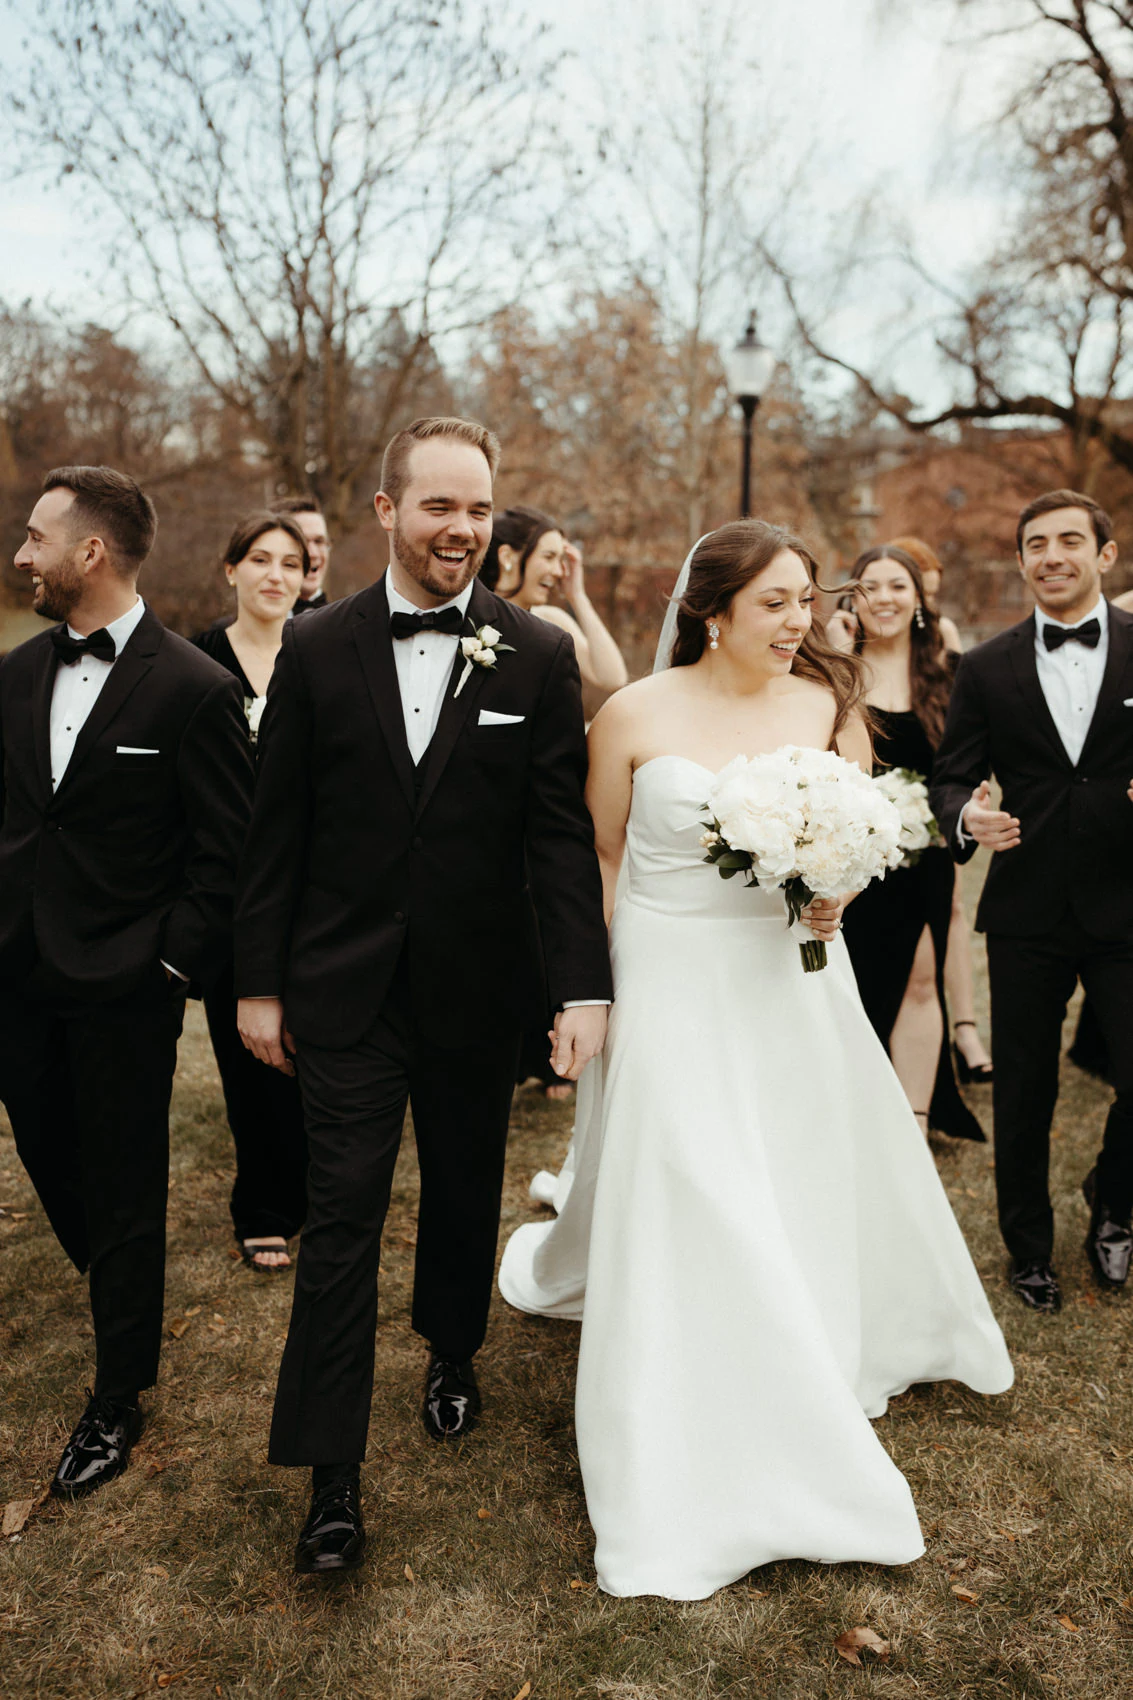
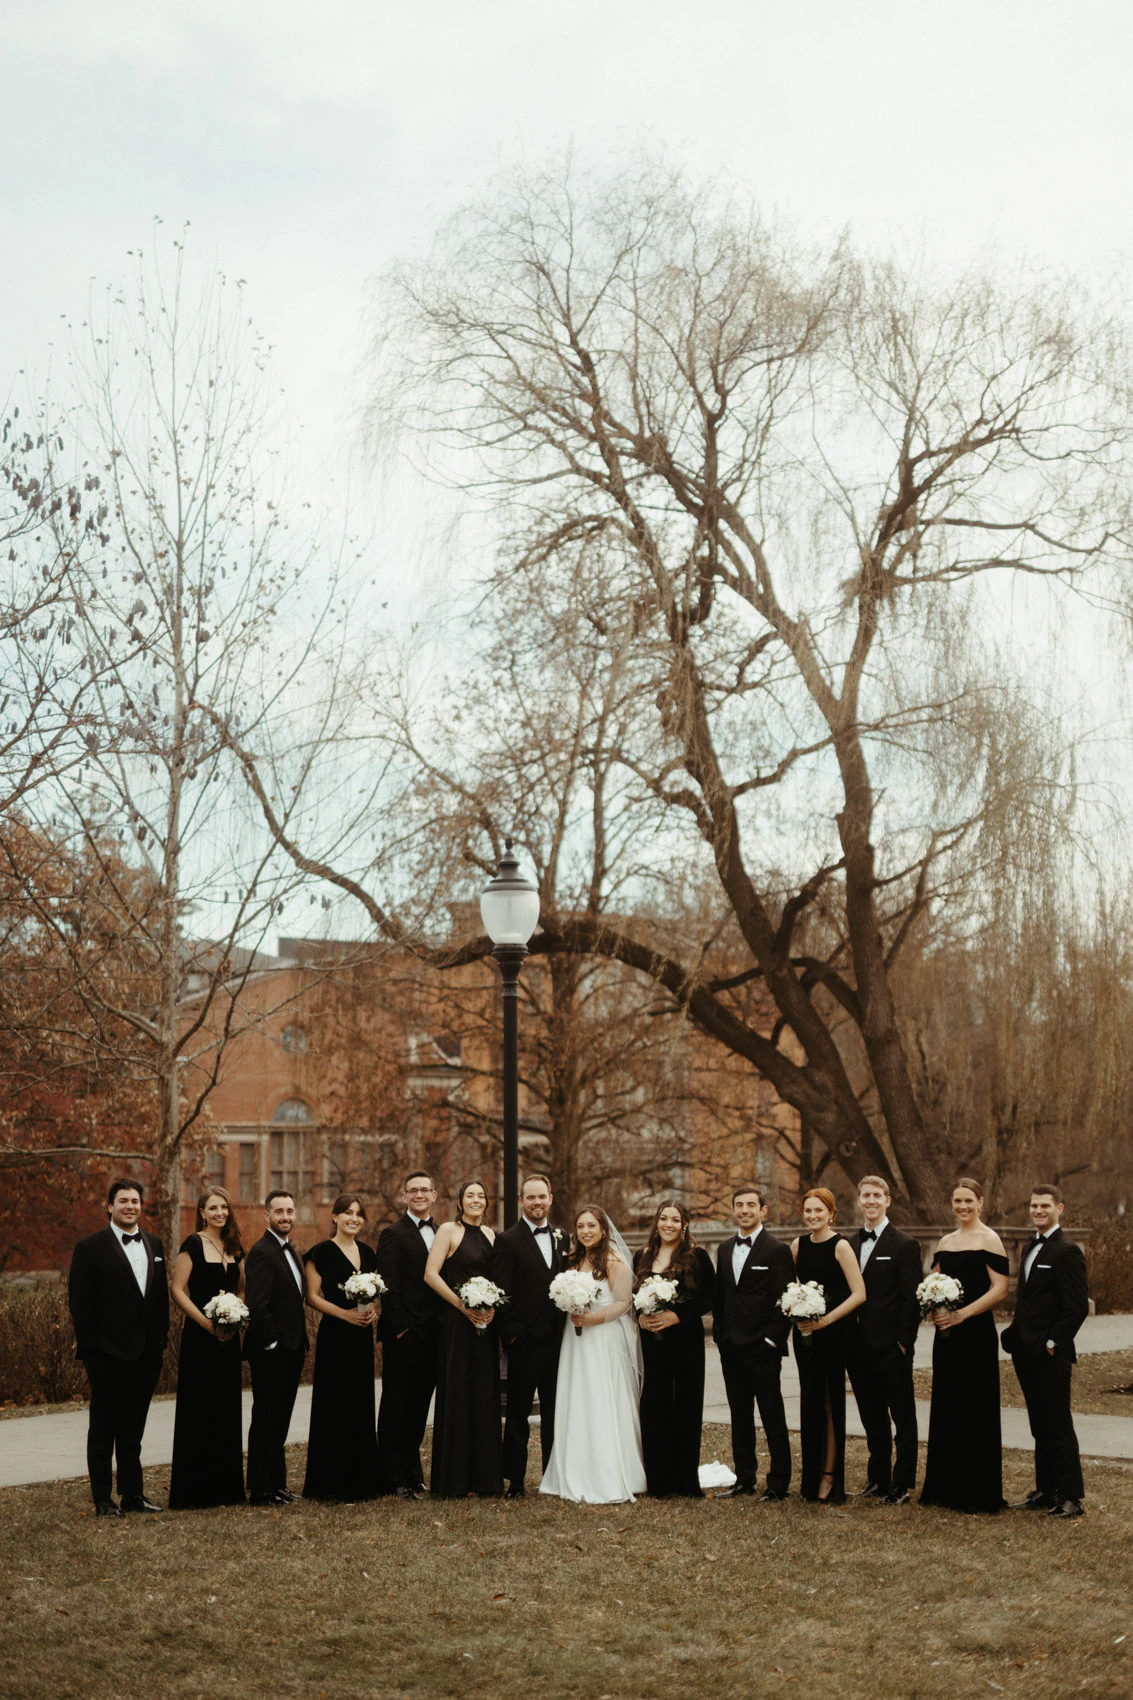
03:30 Wedding party photos, family formals
04:30 Ceremony begins
05:00 Ceremony ends, couple to cocktail hour
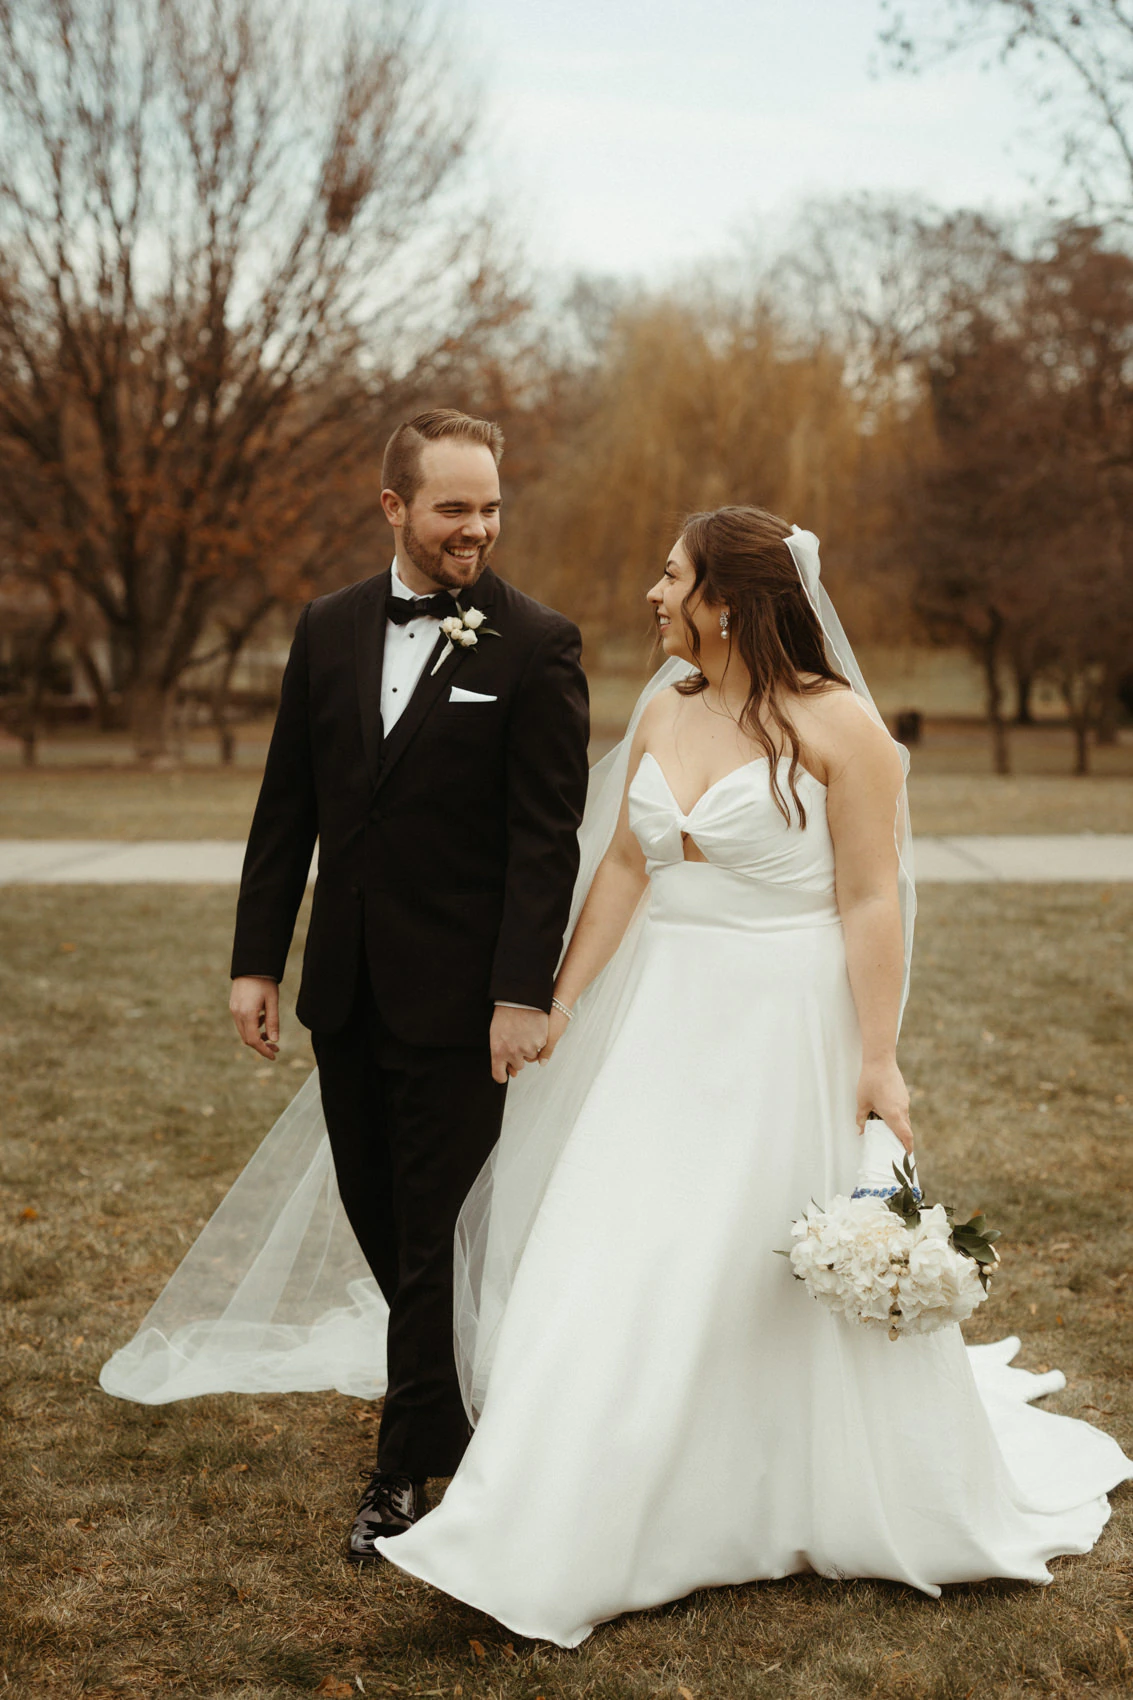
XX:XX Sunset portraits (ideal timing is ~1 hour before listed sunset time)
XX:XX Sun completely set
06:15 Reception begins, follow DJ timeline
09:30 Photo departs
A few things to notice: families must arrive early for photos before the ceremony, but this allows them (and you) to go to cocktail hour after the ceremony. Getting ready must be done a bit earlier due to the photos before the ceremony. This option gets all of the required-but-not-the-most-fun photos out of the way, so once the ceremony is over, the only thing left to do is portraits.
Timeline B
Couple Does Not See One Another Before the Ceremony
02:00 Photo arrives, getting ready/detail shots, separate wedding party photos (dress/details should be laid out/hung and ready to shoot)
04:30 Ceremony begins
05:00 Ceremony ends
05:01 Family formals, wedding party photos
XX:XX Sunset portraits (ideal timing ~1 hour before listed sunset time)
XX:XX Sun completely set
06:30 Reception begins, follow DJ timeline
10:00 Photo departs
A few things to notice: Getting ready starts a bit later, as there is less to do before the ceremony compared to the previous timeline. After the ceremony ends, it’s time for all the most photos of the day: family, wedding party, and newlywed portraits. This happens during cocktail hour, meaning your family and friends do not get to go to cocktail hour until we are done with photos. Once those are done, we go right into portraits. The couple generally does not get to attend cocktail hour with this setup. An extended cocktail hour can work here so that family and friends can attend for a full hour, and the couple can attend for the last third or so.
Average Monthly Sunset Times
(this is when the sun is below the horizon, not when golden hour begins!)
Jan: 4:47pm
Feb: 5:28pm
Mar: 7:02pm
Apr: 7:37pm
May: 8:11pm
Jun: 8:36pm
Jul: 8:32pm
Aug: 7:58pm
Sep: 7:06pm
Oct: 6:14pm
Nov: 4:34pm
Dec: 4:23pm
Remember to Leave Room for Magic!
AKA Candid Moments Require Situations in Which People Can Be Candid
Packing your timeline with things to do all day makes the wedding feel like a non-stop 8-hour photo shoot with a strict schedule rather than a joyful day to celebrate and enjoy your marriage with your loved ones. Candid moments require space in which people can be candid.
There is a huge upside in having extra time intentionally added into your timeline.
Breathing room purposefully added throughout the day lets you run to the bathroom, freshen up, have some water, and get candid moments you wouldn’t have otherwise, or just kick back and hang out with everyone for a few before the next thing kicks off.
Running late puts people on edge and almost always results in you getting fewer photos, or us rushing through your photos. If hair and makeup runs 25 minutes late, we now have only 5 minutes for your first look instead of 30. If the ceremony starts late and now the sun has set, same deal. It’s a bummer, but getting the day back on track usually comes at the expense of the time you had planned for photos.
Family Groups
Ideally 12 or Fewer Groups! Here’s why. Assume each photo will take 3-5 minutes due to kid wrangling, wind, Grandma using paper directions to get to the venue, someone missing, bus arriving early, rain, snow, heat, sun, dog on the loose, What do you mean Jerry wasn’t in all the photos of his family? etc.
Group Photo Template
Couple, Side 1 immediate family
Couple, Side 1 extended family
Couple, Side 2 immediate family
Couple, Side 2 extended family
Couple, all parents together
Couple, Side 1 parents
Couple, Side 2 parents
Couple, all grandparents together
Couple, Side 1 grandparents
Couple, Side 2 grandparents
Couple, Wedding Party Side A
Couple, Full Wedding Party
Couple, Wedding Party Side B
It’s super helpful to write out the individuals’ first or preferred names that belong in each photo. This will let you know precisely who to tell that they’re needed at X time at X place for the photos! It also helps me day-of to make sure no one is missing from the shot!
Also, it is helpful to order the family photos in a way where one group gets added to or subtracted from until they are all done, and the same with the other side. The goal is to avoid swapping large groups of people over and over since that takes a fair bit of time.
A broad day-of shot list for me to follow is politely declined. It’s distracting and leaves no room for creativity or spontaneity for me to capture what is actually happening on your day, big and small. Recreating someone else’s photos or ideas all day costs you all of your day’s actual moments.
Do not hesitate to reach out if you have any questions. Thank you so much!
Here’s an example of a perfectly done family photo list:
1: Couple, Marcus, Sarah, Derek, Rachel
2: Couple, Marcus, Sarah, Derek, Rachel, Victoria, Walter, Pamela, Rita
3: Couple, Marcus, Sarah
4: Couple, Gregory, Helen, Jenny
5: Couple, Gregory, Diana, Jenny
6: Couple, Gregory, Diana, Helen, Jenny, Calvin, Frank, Patricia
7: Couple, Gregory, Helen, Marcus, Sarah
8: Couple, Gregory, Helen
9: Couple, Walter, Pamela, Rita, Frank, Patricia
10: Couple, Walter, Pamela, Rita
11: Couple, Frank, Patricia
12: Couple, Rachel, Jenny, Derek
